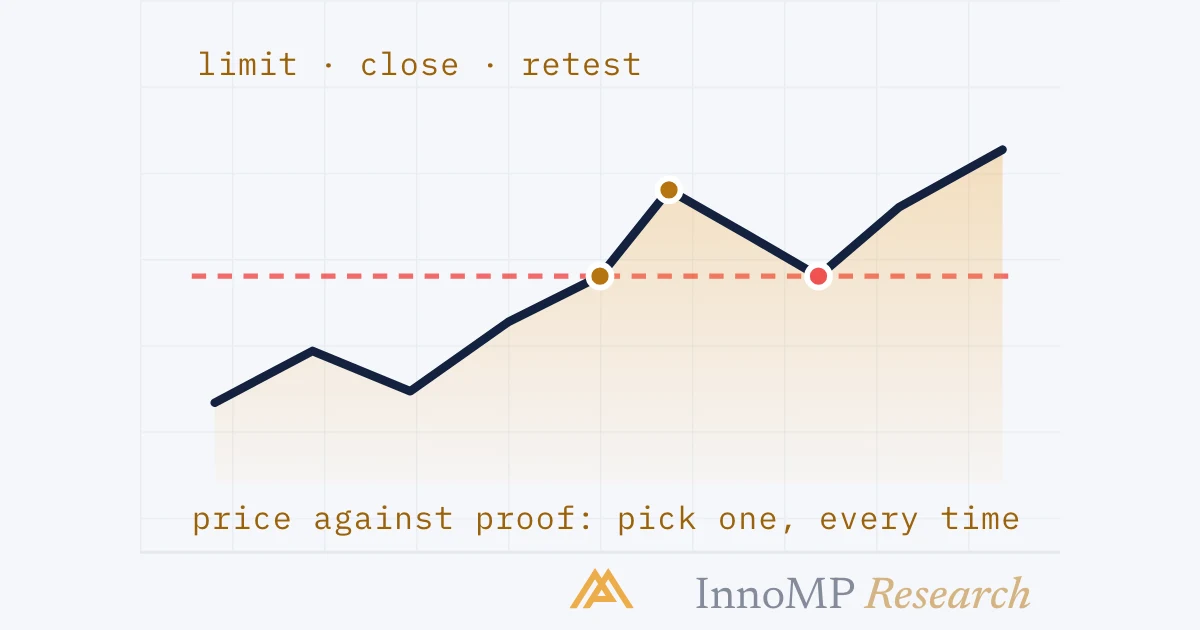
An entry trigger is the observable event on the entry chart that turns a setup into a position. Three are common: a close beyond a level, a retest of the level after the break, and a limit order resting at the level before anything happens. They differ in what they cost. The limit gets the best price and the least evidence; the close pays for evidence with a worse price; the retest gets both but is often not filled at all. None is better in general. The setup names one and takes it every time.
An entry trigger is the observable event on the entry chart that turns a setup into a position. Three are common — a close beyond the level, a retest of it, and a limit order resting at it — and they differ in what they cost.
Part 15 said a setup names one trigger. This part is about choosing it, and the choice is a trade-off that cannot be escaped: every trigger buys price with evidence or evidence with price, and the only wrong answer is not deciding.
Three triggers on one break
Take the situation the whole level has been building: a level with reasons behind it, in the direction of the bias, in a session with participation. Price approaches it. There are three moments a setup can name as the entry.
A — the limit entry. An order rests at the level before price arrives. It fills when price touches, which is the level being tested, not the level being defended. Best price of the three, tightest stop, no evidence.
B — the confirmation entry. The candle closes beyond the level on the entry timeframe — the first piece of breakout evidence from Foundations. The level is known to have broken. The price is worse than A by the width of the break candle, and the stop is further away.
C — the retest entry. Price returns to the broken level and holds on the new side — the flip, and the strongest confirmation Foundations listed. Price close to A’s, evidence better than B’s. The cost is a different kind: the retest often does not come.
Price against proof
The three are points on one line, and the line does not bend.
Stop distance is not an abstraction. It sets size, by the arithmetic of the previous part, and it sets how many R the target is away.
So the question “which trigger?” is really “how much evidence is worth how much price?” — and the answer depends on the setup. A level with five reasons behind it, in the strongest-against-weakest pair of Part 13, has enough context that the limit’s missing evidence costs little. A level with the bare minimum needs the close. There is no general answer; there is the setup’s answer, written down.
The cost the chart does not show
The retest looks like the best of both, and on the chart it is. Its cost appears in the journal instead.
A retest setup’s record has a smaller sample than a close setup’s over the same charts, because a share of the valid breaks never offer the entry. Its win rate is higher and its R is better — and its expectancy per opportunity may still be lower, because opportunities were skipped. That is a real number, and it only shows up in a record that logs the setups that fired without filling. Part 18 counts them.
The fear part of Foundations described the trader who waits for one more confirmation and misses the move. The retest entry is that habit with a rule attached — which is fine, as long as the rule’s cost is known and accepted rather than discovered.
Key takeaway Every trigger has a price. The limit pays in evidence, the close pays in price and size, the retest pays in trades not taken. A setup chooses which bill to pay. It does not get to avoid all three.
One trigger, every time
The mistake this part exists to prevent is not choosing the wrong trigger. It is choosing a different one each day.
A trigger chosen on the day is chosen by the same thing that chose the timeframe in Part 1’s bottom-up reading: whatever agrees with the trade already wanted. The limit when impatient, the close when nervous, the retest when the last limit was stopped out. Each is defensible on its own; together they are five setups wearing one name, and a record of them says nothing about any of them.
If two triggers are genuinely wanted — a limit at levels with five reasons, a close at levels with three — that is two setups, each with its own card and its own record. The trading plan says which applies where, before the chart is open.
| Trigger | Price | Stop | Evidence | Hidden cost |
|---|---|---|---|---|
| Limit at the level | Best | Tightest | None | Lower win rate |
| Close beyond it | Worst | Widest | The break | Smaller size, less R |
| Retest from the new side | Good | Tight | The break and the hold | Trades never filled |
Next: Managing the open trade — partials, break-even and trailing, and what each actually does to the average win and the average loss.
- A trigger is one observable event: a close, a retest, or a fill at a resting order.
- The earlier the entry, the tighter the stop and the weaker the evidence; the later, the reverse.
- A limit entry at the level has the best price and no confirmation; a close entry has confirmation and a worse price.
- The retest entry combines price and confirmation, and is the one most often missed, because the retest does not come.
- A setup names one trigger and takes it every time; switching triggers by feel is timeframe shopping applied to entries.